


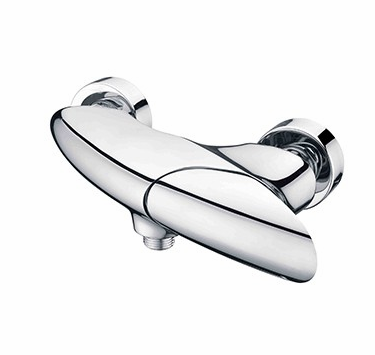
Shower faucet valve core replacement
1. Lift off the decorative cap of the shower faucet handle;
2. Loosen the screws and remove the handle (be careful not to screw the screws out and lose them, the handle can be removed in about one or two turns);
3. Unscrew the decorative cover (it takes some effort); remove the gland nut; take out the valve core;
4. You can open the water valve slightly, flush the valve body with water flow, and remove impurities;
5. Replace the new valve core of the shower faucet (positioning must be accurate), and the installation surface must be clean and free of debris;
6. Install the gland nut with moderate tightness (loosening will cause water leakage, and tightening will make it inconvenient to disassemble next time); turn the valve core adjustment rod clockwise until it stops turning (hot water position);
7. Install the shower faucet handle according to the hot water outlet position; tighten the screws and press the decorative cap.
